Pine Needle Soda Recipe

Making your own soda can be super easy AND nutritious!
DID YOU KNOW? Pine needle soda can have more vitamin C than a glass of orange juice! And it is packed vith Vitamin A! Way healthier than Sprite, that's for sure!
Drink for a lightly fizzy vitamin boost, or use in your next cocktail!
Here is the video from my instagram where I show you the steps.
*Disclaimer- make sure to PROPERLY IDENTIFY your tree from which you are removing the needles from. Most Pines are great for this recipe, but there are some toxic lookalikes (such as some of the Yew family). If you need help identifying your tree, there is a lot of information online to help with identification.
I used White Pine.
Identifying the needles: They're long and in clusters of 5.


Identifying the Bark: The younger treeswill be smooth in texture and greenish grey. Not to be confused with Red Pine which looks similar, but has a slight red hue. The older White Pines' bark will start to become rough in texture with layers of scales, and can have a reddish brown hue.
Identifying the Pinecones: They are cylindrical and long.
Here is a great resource for assistance with identification.
--------------------------------------------------------
What You'll Need:
Pine Needles (I used White Pine)
A Swingtop Bottle
Filtered Water
Sugar (or honey)
Here's How:
Step 1: Snip off the woody ends of your pine needle clusters.
Step 2: Rinse the needles if you desire. I gave mine a quick look over, and didn't see any foreign contaminates. You can of course rinse if you'd like. I opted not to, because the needles themselves have naturally occurring yeast on them. That is what assists in the fermentaion process that we are about to embark on.
Step 3: In your sanitized swingtop bottle, start by inserting your pine needles, just as many as you can loosely fit into the container. No need to shove as many as possible. The first time I made this, that is exactly what I did, but the more I made this recipe I realized you can make WAY more soda with way less needles.

Step 4: Pour in about 4 Tablespoons of sugar of honey. A funnel works great for this step. If using honey, I highly suggest using a chopstick to assist the yoney into the narrow opening of your container.
Step 5: Fill your bottle with filtered water. I use water from my Berkey system. Make sure to leave about 1-2 inches of headspace from the top.
Step 6: Secure the top of the bottle and give it a good shake to make sure the sugar is mixed with the water. Leave on your countertop for about 3 days. Make sure to burp your bottles (pop off the top) a MINIMUM of once every 24 hours.

Step 7: While burping your bottles at least once a day, check for desired fizziness. This should be around day 2 or 3. Once if it how you like it, simply keep in your fridge for 2 weeks. Just make sure to burp the bottles in the fridge every few days.

Congratulations! Use this fizzy healthy soda in your next cocktail, or just by itself!

DIY Beeswax Wraps

We all know plastic is killing this planet. Did you ever wonder if there was another way to wrap up your sandwich or your kid's half-eaten apple?
I'll show you how to make an eco-friendly and reusable alternative to plastic baggies! And, with being able to choose literally ANY cute fabric design, the possibilities are endless!
They're tacky, flexible and easy to wrap around any shaped item. Once wrapped, the warmth of your hands is all you'll need to "lock" the shape of the wrap into place, and voila! They're also fantastic to use overtop of a bown that you dont have a lid to!
Did you know? Beeswax is naturally antibacterial, so they are a fantastic option for food storage! Although antibacterial, it is not recommended for meat products.
Natural Deodorant Recipe
Ever wanted to make your own natural deodorant that actually works?
Here's how!
DIY Lip Balm
How to Start a Sourdough Starter

Ever wondered "How in the world to start my sourdough?"
Do you see all of the recipes calling for something called a "starter"?
Scared it looks like too much work?
Don't worry! It's surpisingly easy, and it only takes about 7 days. I'll show you exactly how to make your own starter!
What you'll need:
- a kitchen scale (believe me, you'll be happy you bought this)
- a Mason jar, or something similar
- a loose fitting lid or a piece of fabric
- filtered water (without chlorine- I use water from my Berkey system)
- bread flour (you can try to use all-purpose flour, but in my opinion, bread flour makes all the difference!)
- a rubber band (or 2, if using fabric as your lid)
DAY 1: In your clean mason jar, add 50g of flour and 50g of filtered water. Stir until well-combined, scraping the sides down to ensure all the mixture is at the bottom of the container. Place your lid on LOOSELY (if using a jar, just use the flat lid, without the lid ring- just place it on top). If using cheesecloth or fabric, use a rubber band to secure it onto your jar.
Next, place a rubber band around your jar, at the level of your mixture. I highly recommend getting in the habit of doing this. It is a great way to tell if your starter is active!
Leave the jar on your counter in a warm place (ideally 70 degrees F) away from sunlight, for 24 hours.
DAY 2: In a new jar, use a spatula to scrape 50g of the starter into it. Discard the rest. In the new starter jar, add 50g filtered water and stir well. Next add 50g of flour and stir. This process of adding water and flour is called "feeding your starter". Remember to scrape down the sides of the jar.
Gently place your lid on, and put your rubber band at the level of our mixture.
Leave again for 24 hours.
*REPEAT DAY 2 INSTRUCTIONS FOR 3 MORE DAYS!
Day 6 & 7: Do as your normally would, with discard, adding to a new jar, and feeding, but do this every 12 hours insead of 24. Don't worry, you'll only have to do this for 2 days. After that, you can go back to feeding every 24 hours.
After day 7, you should notice that your starter is nice and bubbly and "alive"!
To ensure your starter is ready, all you have to do is get a bowl or glass of water and drop in about a teaspoon of your starter. If your starter floats, Good news! Your fermentation is working, and you can now use in any sourdough recipe!
If your starter sinks, that is okay! It just isn't mature enough yet. Repeat steps or days 6/7 until your starter wins the "float test".
Congratulations! You now know how to make a successful sourdough starter.
To keep you starter alive and healthy, keep it on your counter and discard and feed once every 24 hours.
DON'T THROW AWAY YOUR DISCARD! As long as you starter passes the float test, your "discard" will be ready to use in any recipe! Make sourdough discard pancakes, cookies, and much more!
DON'T WANT TO FEED IT EVERY 24 HOURS? Simply place your jar in the refrigerator and discard/feed once a week!
Now go forth and make your sourdough!
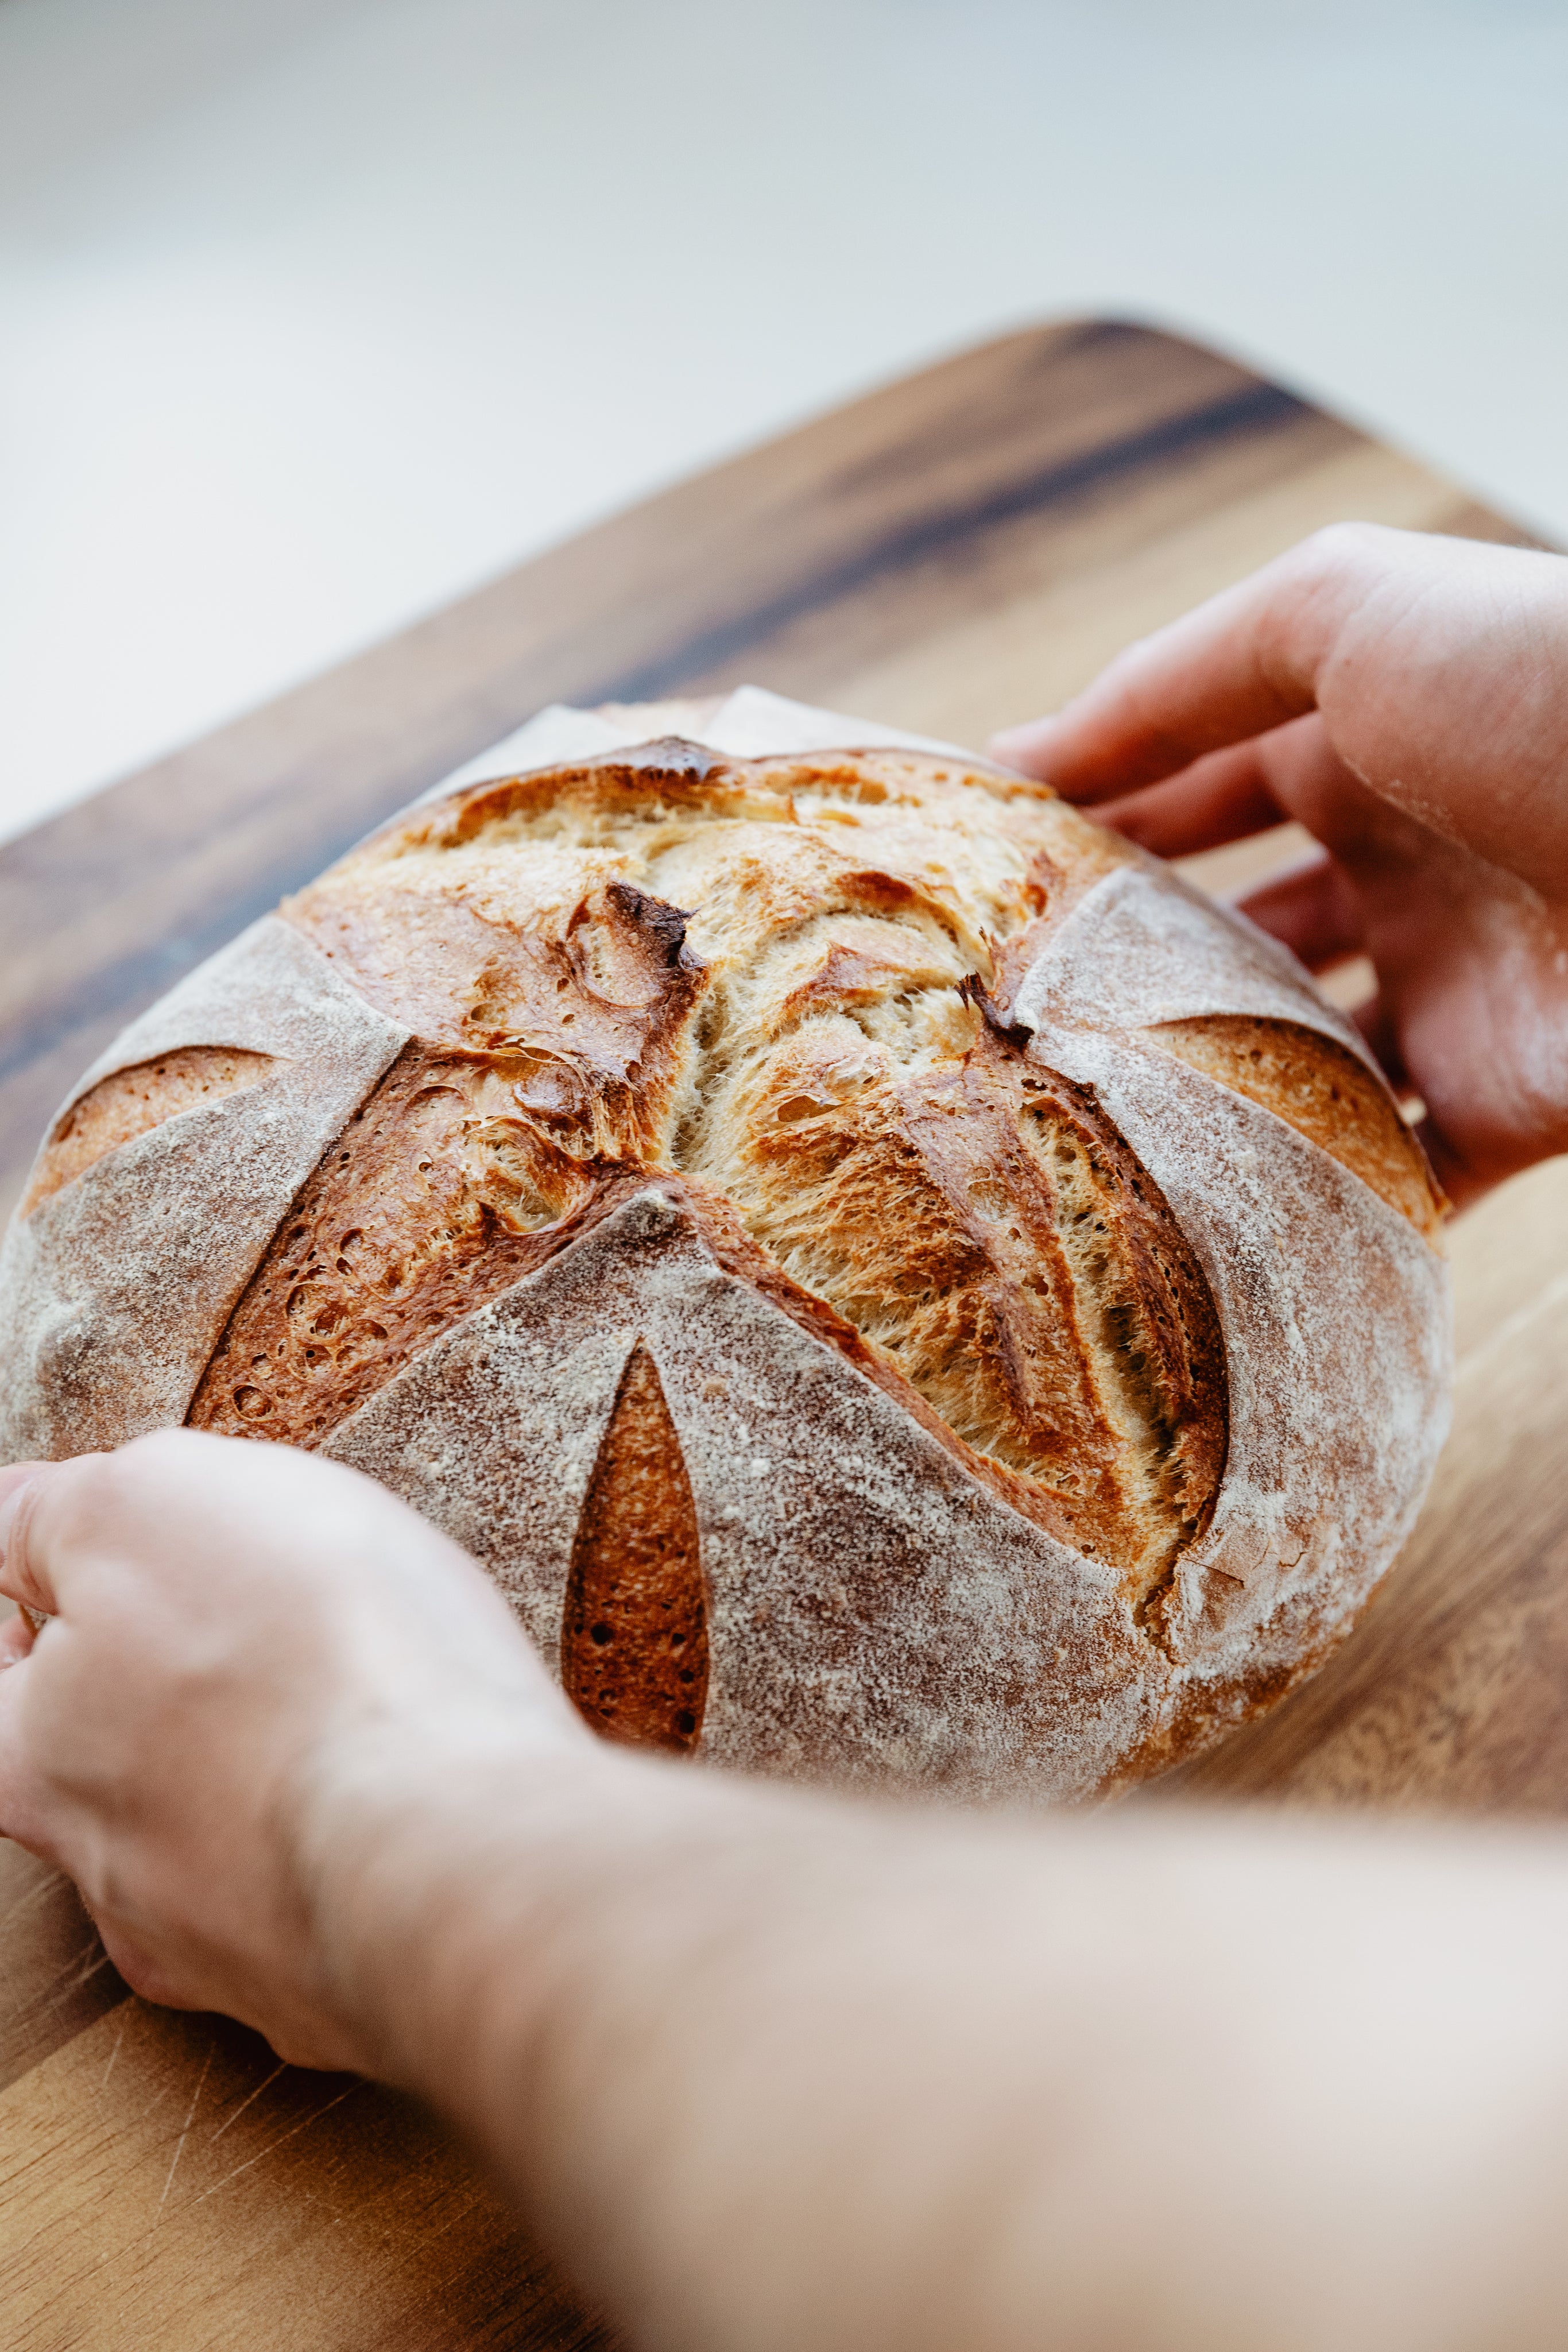
Sourdough Discard Dinner Rolls

1. In an mixing bowl, pour in water and yeast. Let sit for 5 minutes. you should start to see foam on the top of the water.
2. In same bowl, add sourdough discard, sugar and you egg. Mix on medium speed for about a minute.
3. Add your salt and butter, and mix again on medium speed for 30 seconds.
4. Add your flour 1/2 cup at a time, mixing on low after each flour addition.
5. Cover the bowl and leave for about 2 hours.
6. Preheat your oven to 375 degrees F
7. Grease your cast iron skillet (I prefer tallow or duck fat, but you can use oil or butter).
8. Using a pastry scraper, separate your dough into 8 equal pieces.
9. Gently form them into balls, and place onto your greased cast iron, making sure you leave a little space between each roll.
10. Cover and let rest for another 30 minutes.
11. Prepare you egg wash. An egg wash is just an egg whisked with some water. Use a pastry brush to gently brush the egg wash onto the rolls.
12. Bake for 25 minutes or until golden brown on top.
13. Serve and Enjoy!
Chicken Treat Recipes
Here are a few of my chickens' favorite treat recipes!

Blueberry "Mash"
This consists of crushed and baked eggshells, organic oats, frozen or fresh blueberries, and just a little bit of water. Mix well, and offer to your chickens! *Optional Bonus: add probiotics into the mix!
Blueberry "Mash" with Sourdough Discard
Use the above recipe, and add in your sourdough discard, too! This contains beneficial bacteria that helps chickens with digestion.

Sprouts
Homemade sprouts are extremely easy to grow, and they just take a few days. Simply add beans/lentils/grains to a jar, cover with water, and add either citric acid or cinnamon*. Cover with a sprout strainer lid. Let this sit overnight. In the morning, strain the beans and turn upside down on a plate. Rinse and drain your beans at least once a day until about 5 days. Give to your chickens as-is!
*Reasoning for citric acid or cinnamon: both prevent mold from growing in your sprout jar. Mold is very toxic to chickens. You only need a small amount. Both have been proven to be safe for chicken consumption.
Mealworms or BSFL (black soldier fly larvae)
You can get these dried worms almost anywhere online! Here are my favorite brands. Mealworms and BSFL
Yogurt and fruit "popsicles"
Mix organic unflavored yogurt and your choice of fruit. Apples and blueberries are their favorite. Make sure if using apples, to remove all of the seeds from the apple first- they're toxic to chickens! Combine in a blender, pour and spread over a tray lined with parchment paper. Place in the freezer overnight. In the morning, remove the tray of yogurt, and break into small pieces and give to your chickens!
Watermelon
As simple as it sounds, just slice a watermelon in half, and let them go to town!


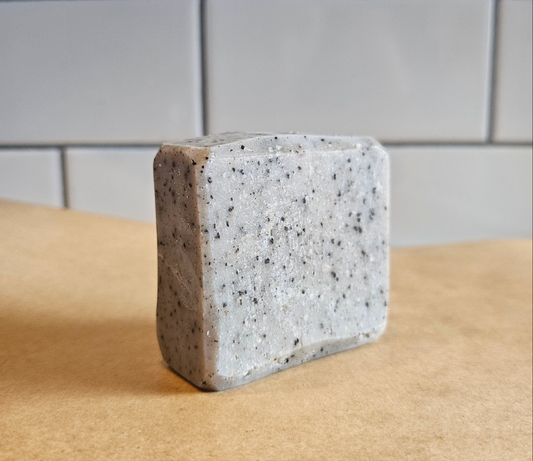
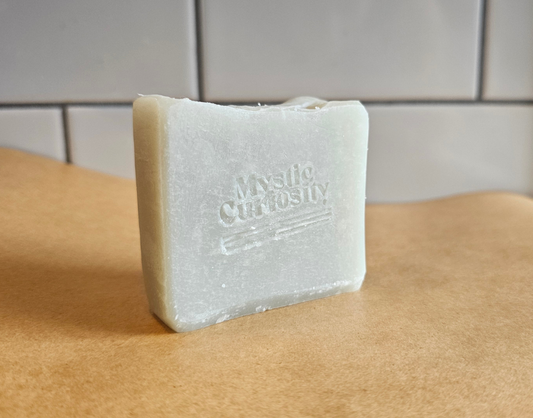
Handmade Soaps
-
Handmade Exfoliating Soap (Vanilla+Coffee)
Regular price $4.00 USDRegular priceUnit price per -
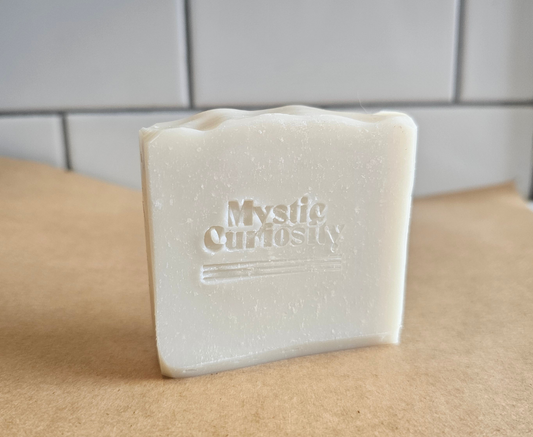
Handmade Soap (Facial Bar)
Regular price $4.00 USDRegular priceUnit price per -
Handmade Soap (Vanilla+Orange+Coconut)
Regular price $4.00 USDRegular priceUnit price per
Natural Beauty Care
-
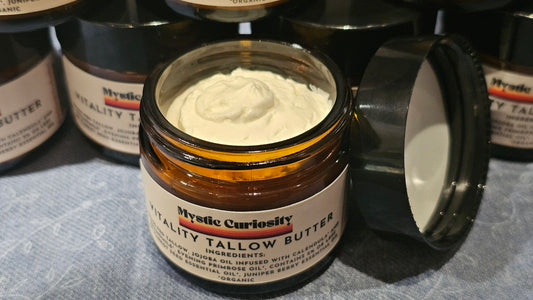
Vitality Whipped Tallow Butter
Regular price $25.00 USDRegular priceUnit price per -
Clarity Whipped Tallow Butter
Regular price $25.00 USDRegular priceUnit price per -
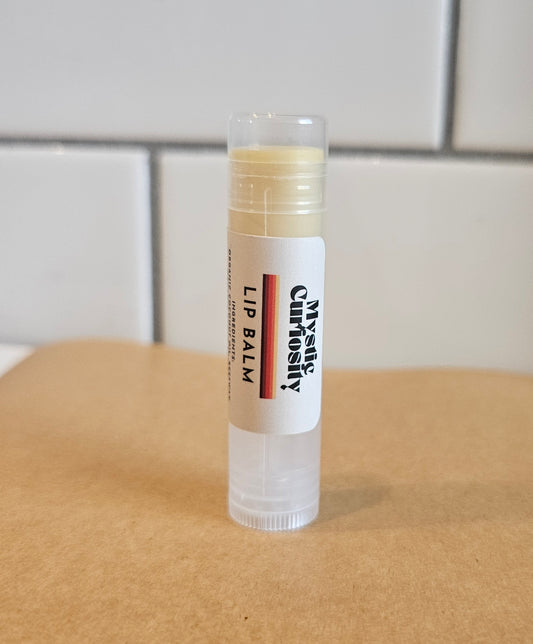
Homemade Lip Balm
Regular price $4.50 USDRegular priceUnit price per -
Prismatic Whipped Tallow Butter
Regular price $25.00 USDRegular priceUnit price per


Mugs
-
Handmade Maple Leaf Mug
Regular price $14.00 USDRegular priceUnit price per -
Handmade Leaf Mug
Regular price $14.00 USDRegular priceUnit price per -
Handmade Third Eye Espresso Mug
Regular price $10.00 USDRegular priceUnit price per -
Handmade Mug
Regular price $12.00 USDRegular priceUnit price per -
‘The Mountains are Calling’ 11oz Black Mug
Regular price $9.95 USDRegular priceUnit price per -
‘I Speak Fluent Sarcasm’ Ceramic Mug 11oz
Regular price $7.33 USDRegular priceUnit price per


Sweatshirts
-
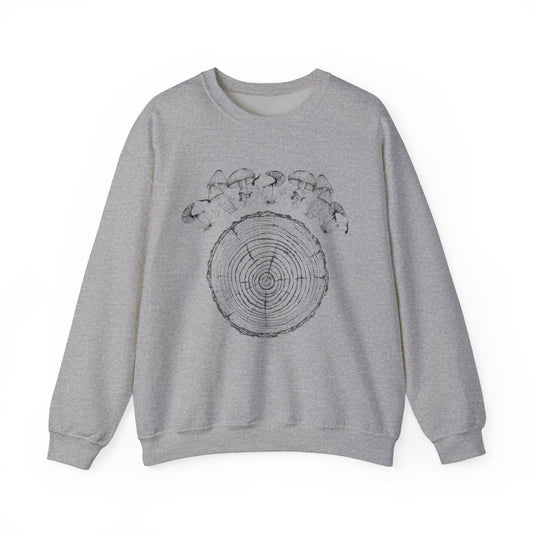
Mushroom Tree Ring Crewneck Sweatshirt
Regular price From $23.50 USDRegular priceUnit price per -
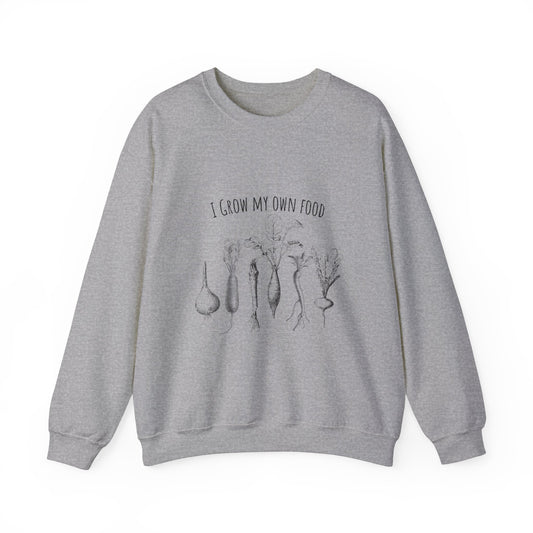
I Grow My Own Food Unisex Crewneck Sweatshirt
Regular price From $27.98 USDRegular priceUnit price per -
Cute and Cozy Unisex Crewneck Sweatshirt
Regular price From $28.95 USDRegular priceUnit price per -
"Faith in the Government" Unisex Crewneck Sweatshirt
Regular price From $27.98 USDRegular priceUnit price per


Kid's
-
Kids Tee — "Go Climb a Tree" Outdoor Adventure T-Shirt
Regular price $15.00 USDRegular priceUnit price per -
Big Sister Tee
Regular price $14.00 USDRegular priceUnit price per -
"Treasure Every Day" Youth Crewneck Sweatshirt
Regular price $33.00 USDRegular priceUnit price per -
‘Support Forest Schools’ Kids Cotton™ Tee
Regular price $15.00 USDRegular priceUnit price per -
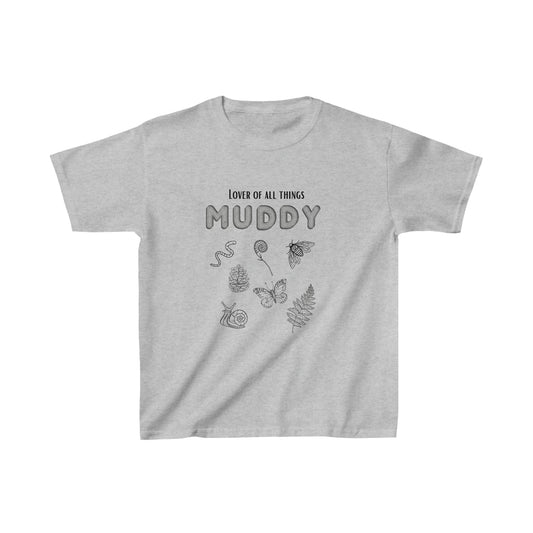
'Lover of all Things Muddy' Kids Heavy Cotton™ Tee
Regular price From $15.42 USDRegular priceUnit price per -
‘Olotl Love’ Kids Heavy Cotton Tee
Regular price From $18.21 USDRegular priceUnit price per


Featured Shirts
-
‘Good Vibes Only’ Unisex Jersey Short-Sleeve T-Shirt
Regular price From $20.32 USDRegular priceUnit price per -
Kids Tee — "Go Climb a Tree" Outdoor Adventure T-Shirt
Regular price $15.00 USDRegular priceUnit price per -
‘Support Forest Schools’ Kids Cotton™ Tee
Regular price $15.00 USDRegular priceUnit price per -
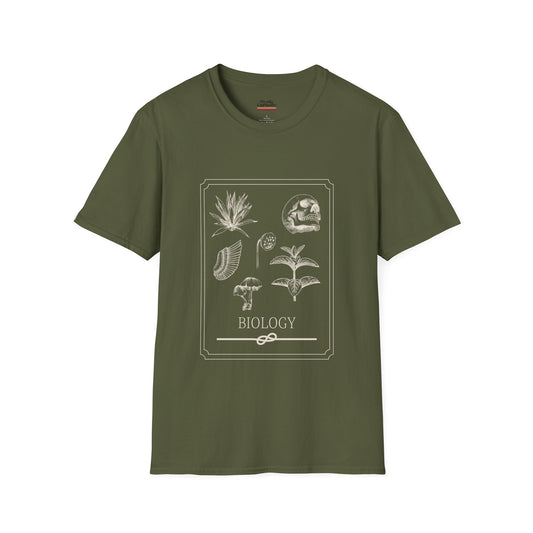
'Biology' Unisex T-Shirt
Regular price From $17.10 USDRegular priceUnit price per -
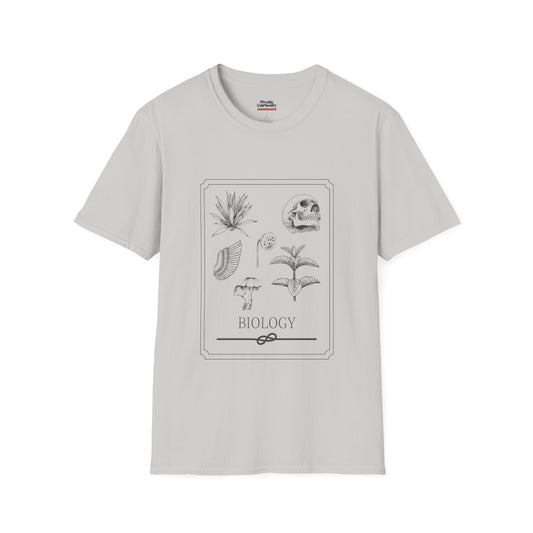
'Biology' Unisex T-Shirt
Regular price From $17.10 USDRegular priceUnit price per -
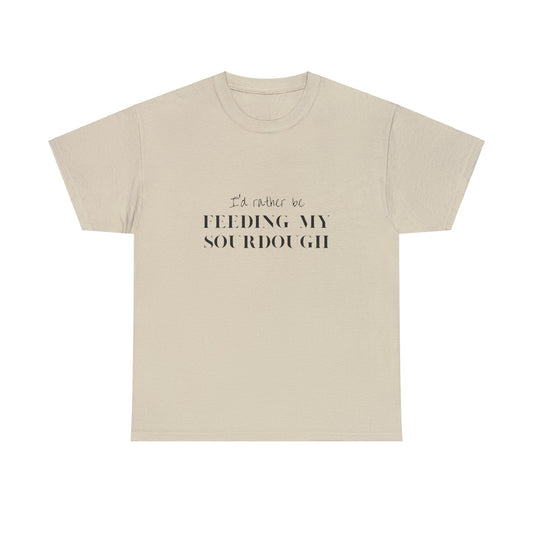
'Sourdough' Cotton Tee
Regular price From $15.76 USDRegular priceUnit price per